Easter Bunny Footprints: How to Make Magical Paw Prints Kids Will Love
Easter morning has a window of about four seconds — that's how long it takes a child to scan the room and decide if the Easter Bunny actually came. In those four seconds, they're looking for proof. And a basket full of candy, as wonderful as it is, doesn't quite tell the whole story on its own.
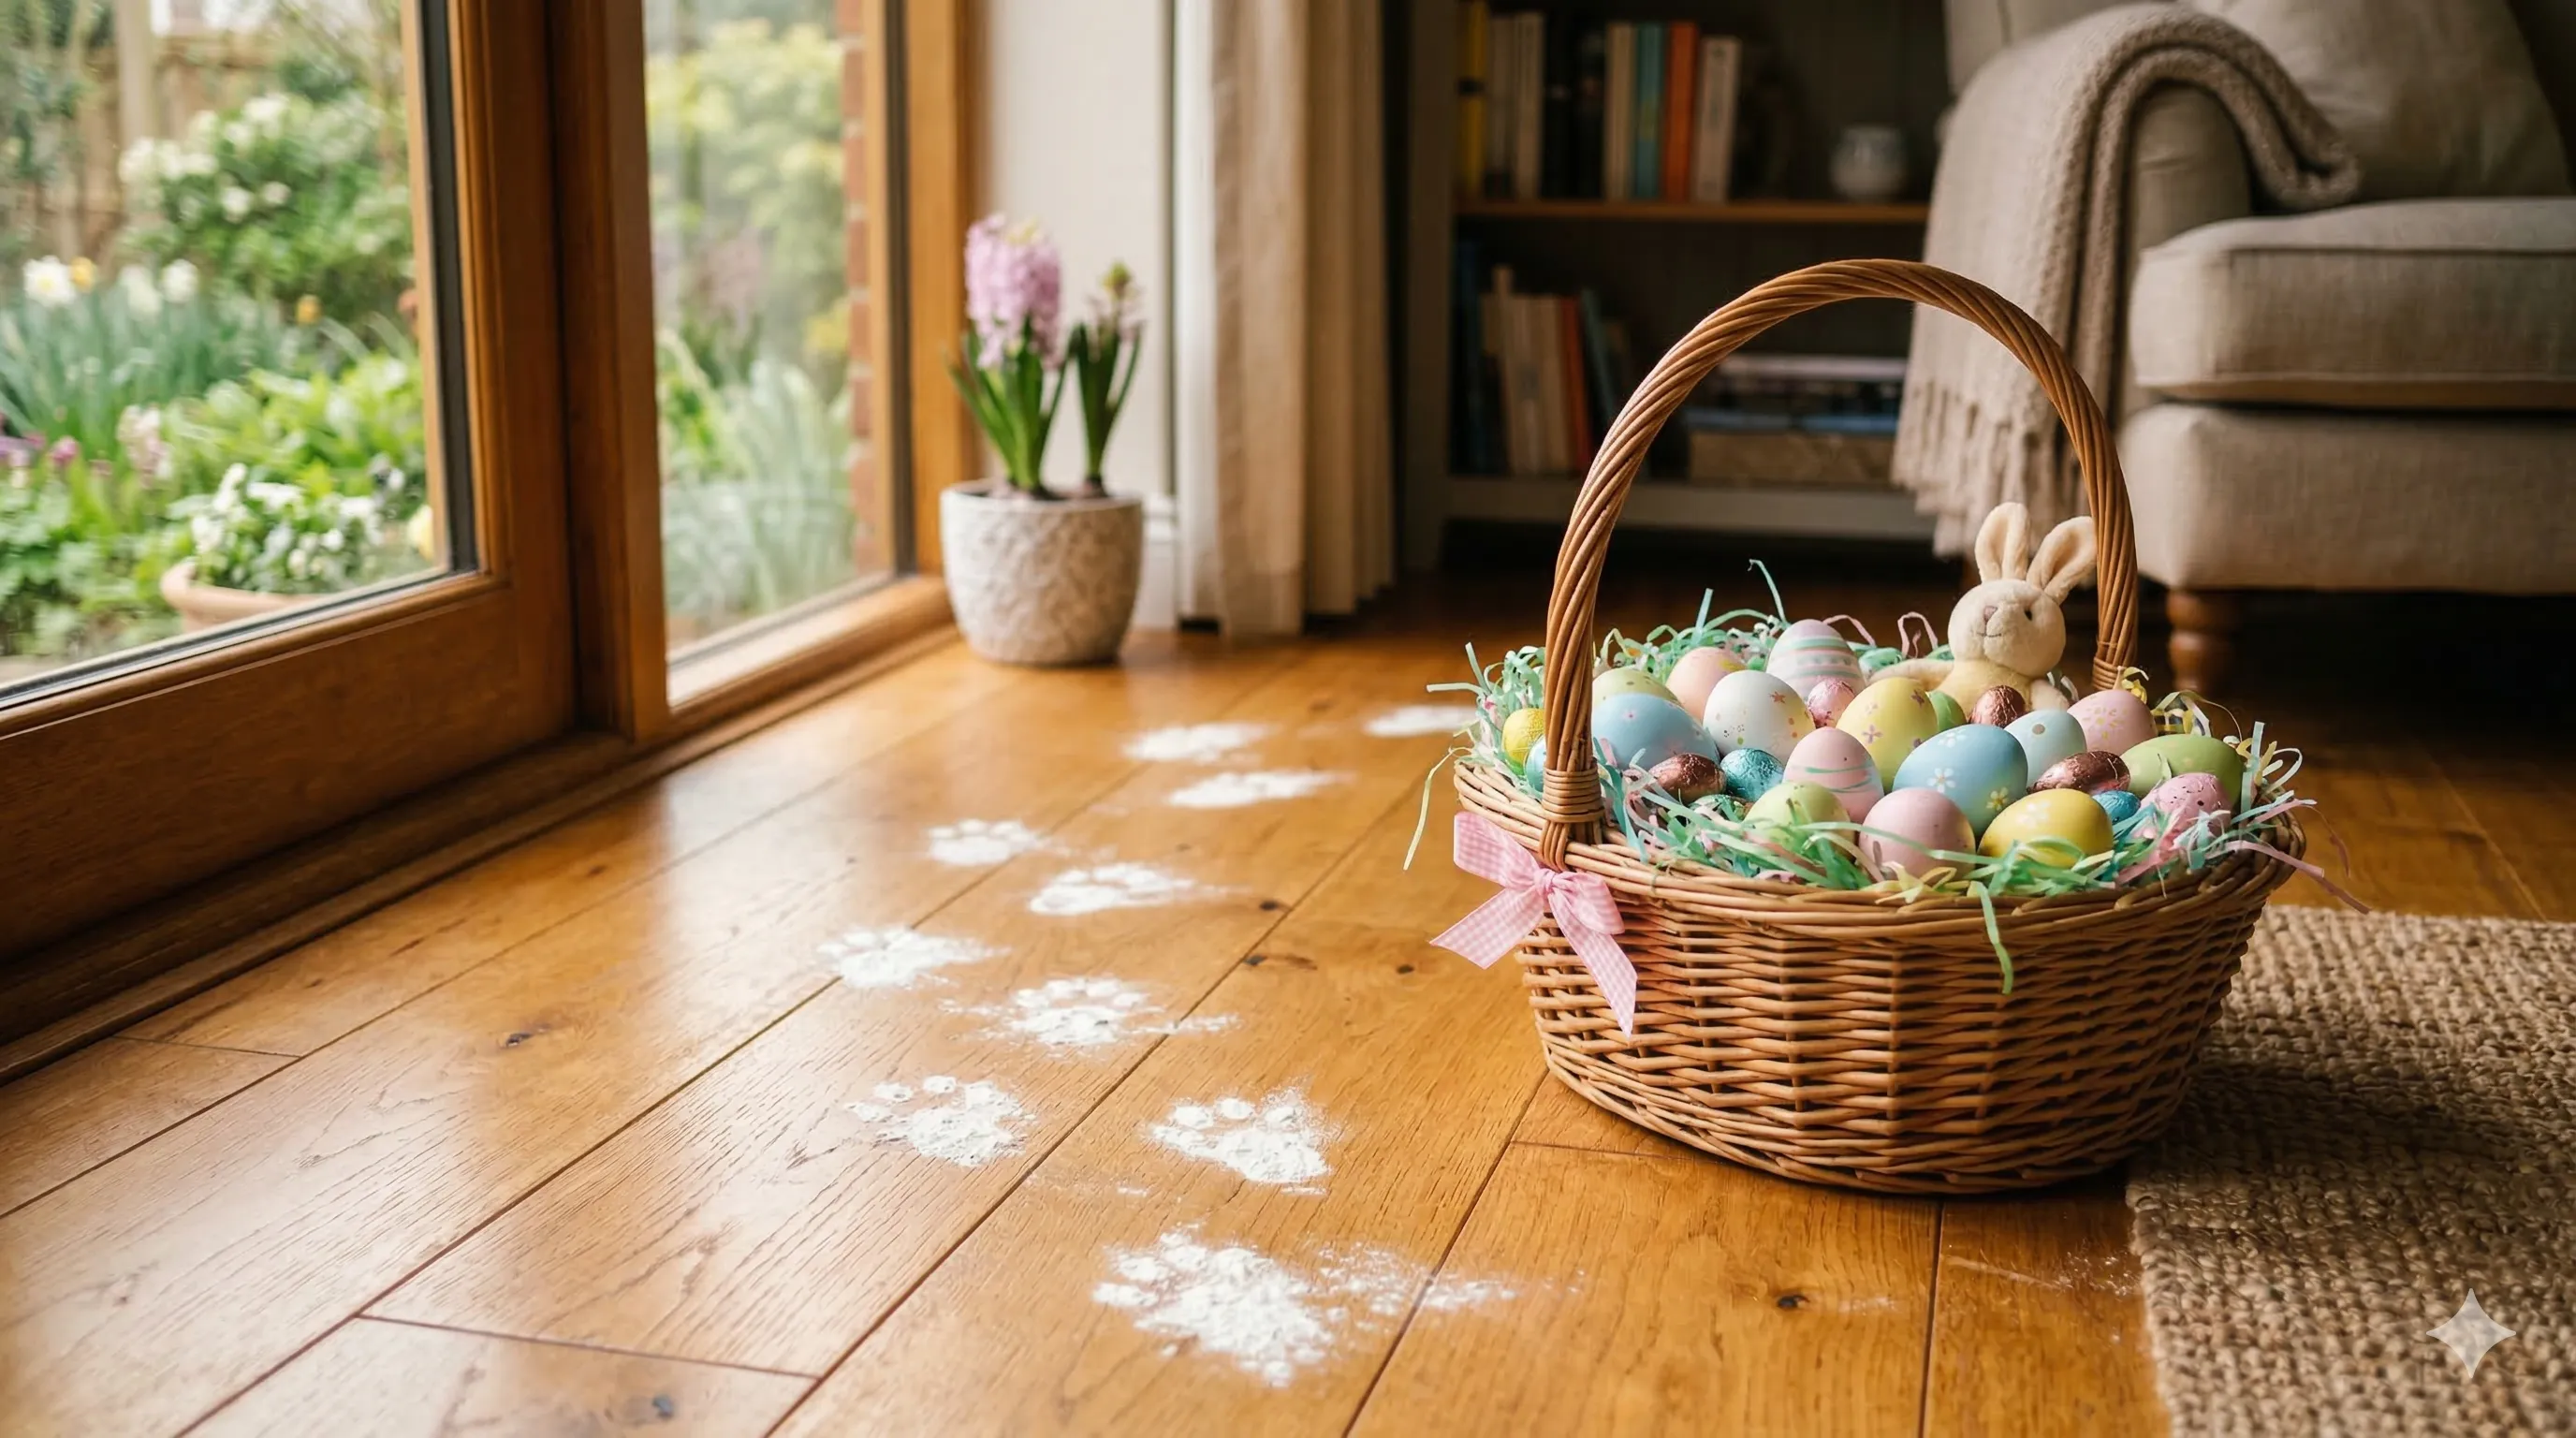
Imagine this instead: your child stumbles downstairs to find a trail of small paw prints leading from the back door, zigzagging through the living room, disappearing around the corner, and ending right at where the basket is hidden. That's not just Easter morning — that's a memory they'll still be talking about when they're teenagers.
The good news? Easter Bunny footprints are surprisingly easy to make with things you probably already have in the kitchen. In this guide, you'll find three simple methods — flour, baking soda, and chalk — along with exactly how to set up the trail for maximum drama. And once those footprints are in place, we'll show you the one finishing touch that makes the whole experience feel truly personal.
🌷 Complete the Magic with a Personal Letter
Footprints prove the Easter Bunny came. A personalized Easter Bunny letter proves he knows your child by name. At The Magic Letter Box, you can create a beautifully personalized letter in under a minute — referencing your child's name, age, interests, and this year's special moments. Start with 5 free letters, or unlock unlimited letters for a full year for just $15. Hundreds of customization options, ready before the footprints dry.
In This Guide
Why Easter Bunny Footprints Make Easter Morning Feel Real
There's actual developmental psychology behind why this works so well. Research on children's imaginative play consistently shows that physical evidence engages a child's belief in magical scenarios far more powerfully than the absence of evidence. In other words, a basket appearing overnight is abstract. Footprints leading to that basket are concrete — they trigger a completely different cognitive response.
It's the same reason leaving cookies for Santa works so well at Christmas. When children discover the cookies are gone in the morning (with maybe a few crumbs left behind), that physical change in the environment becomes irrefutable proof in their minds. Childhood development experts note that children between ages 3 and 8 are in a prime period for magical thinking — they're actively constructing a worldview, and tangible details feed that construction beautifully.
Easter Bunny paw prints work on the same principle. They transform the Easter basket from a gift that appeared into an event — a visit, a journey, a story with a beginning and an end. And a story your child can see is a story they'll believe in completely.
The combination that works best? Footprints leading to the basket, plus a personal letter waiting at the end of the trail. The footprints prove someone was there. The letter proves that someone knew them.
What You'll Need (Quick Supply List)
You won't need to make a special store run for any of these. Most parents have everything already:
For Method 1 — Flour (Best for Hardwood & Tile)
- All-purpose flour (about ½ cup per trail)
- Fine mesh strainer or flour sifter
- Cardstock or a manila folder (for your stencil)
- Scissors
- Pencil
For Method 2 — Baking Soda or Baby Powder (Carpet-Friendly)
- Baking soda or baby powder
- Same cardstock stencil as above
- Fine mesh strainer (lighter touch needed than with flour)
For Method 3 — Chalk (Outdoor / Driveway)
- Colored sidewalk chalk (white or light gray works best)
- Small sponge or wet brush
- Your cardstock stencil (optional but helpful)
How to Make Easter Bunny Footprints — 3 Methods
Choose your method based on your floor type and your cleanup tolerance. All three produce convincing results — the right choice just depends on what you're working with.
Method 1 — Flour Footprints (Most Realistic, Hardwood & Tile Floors)
This is the most visually convincing method. Flour gives prints a soft, dusty look — exactly what you'd imagine an outdoor creature leaving behind. Here's how to do it:
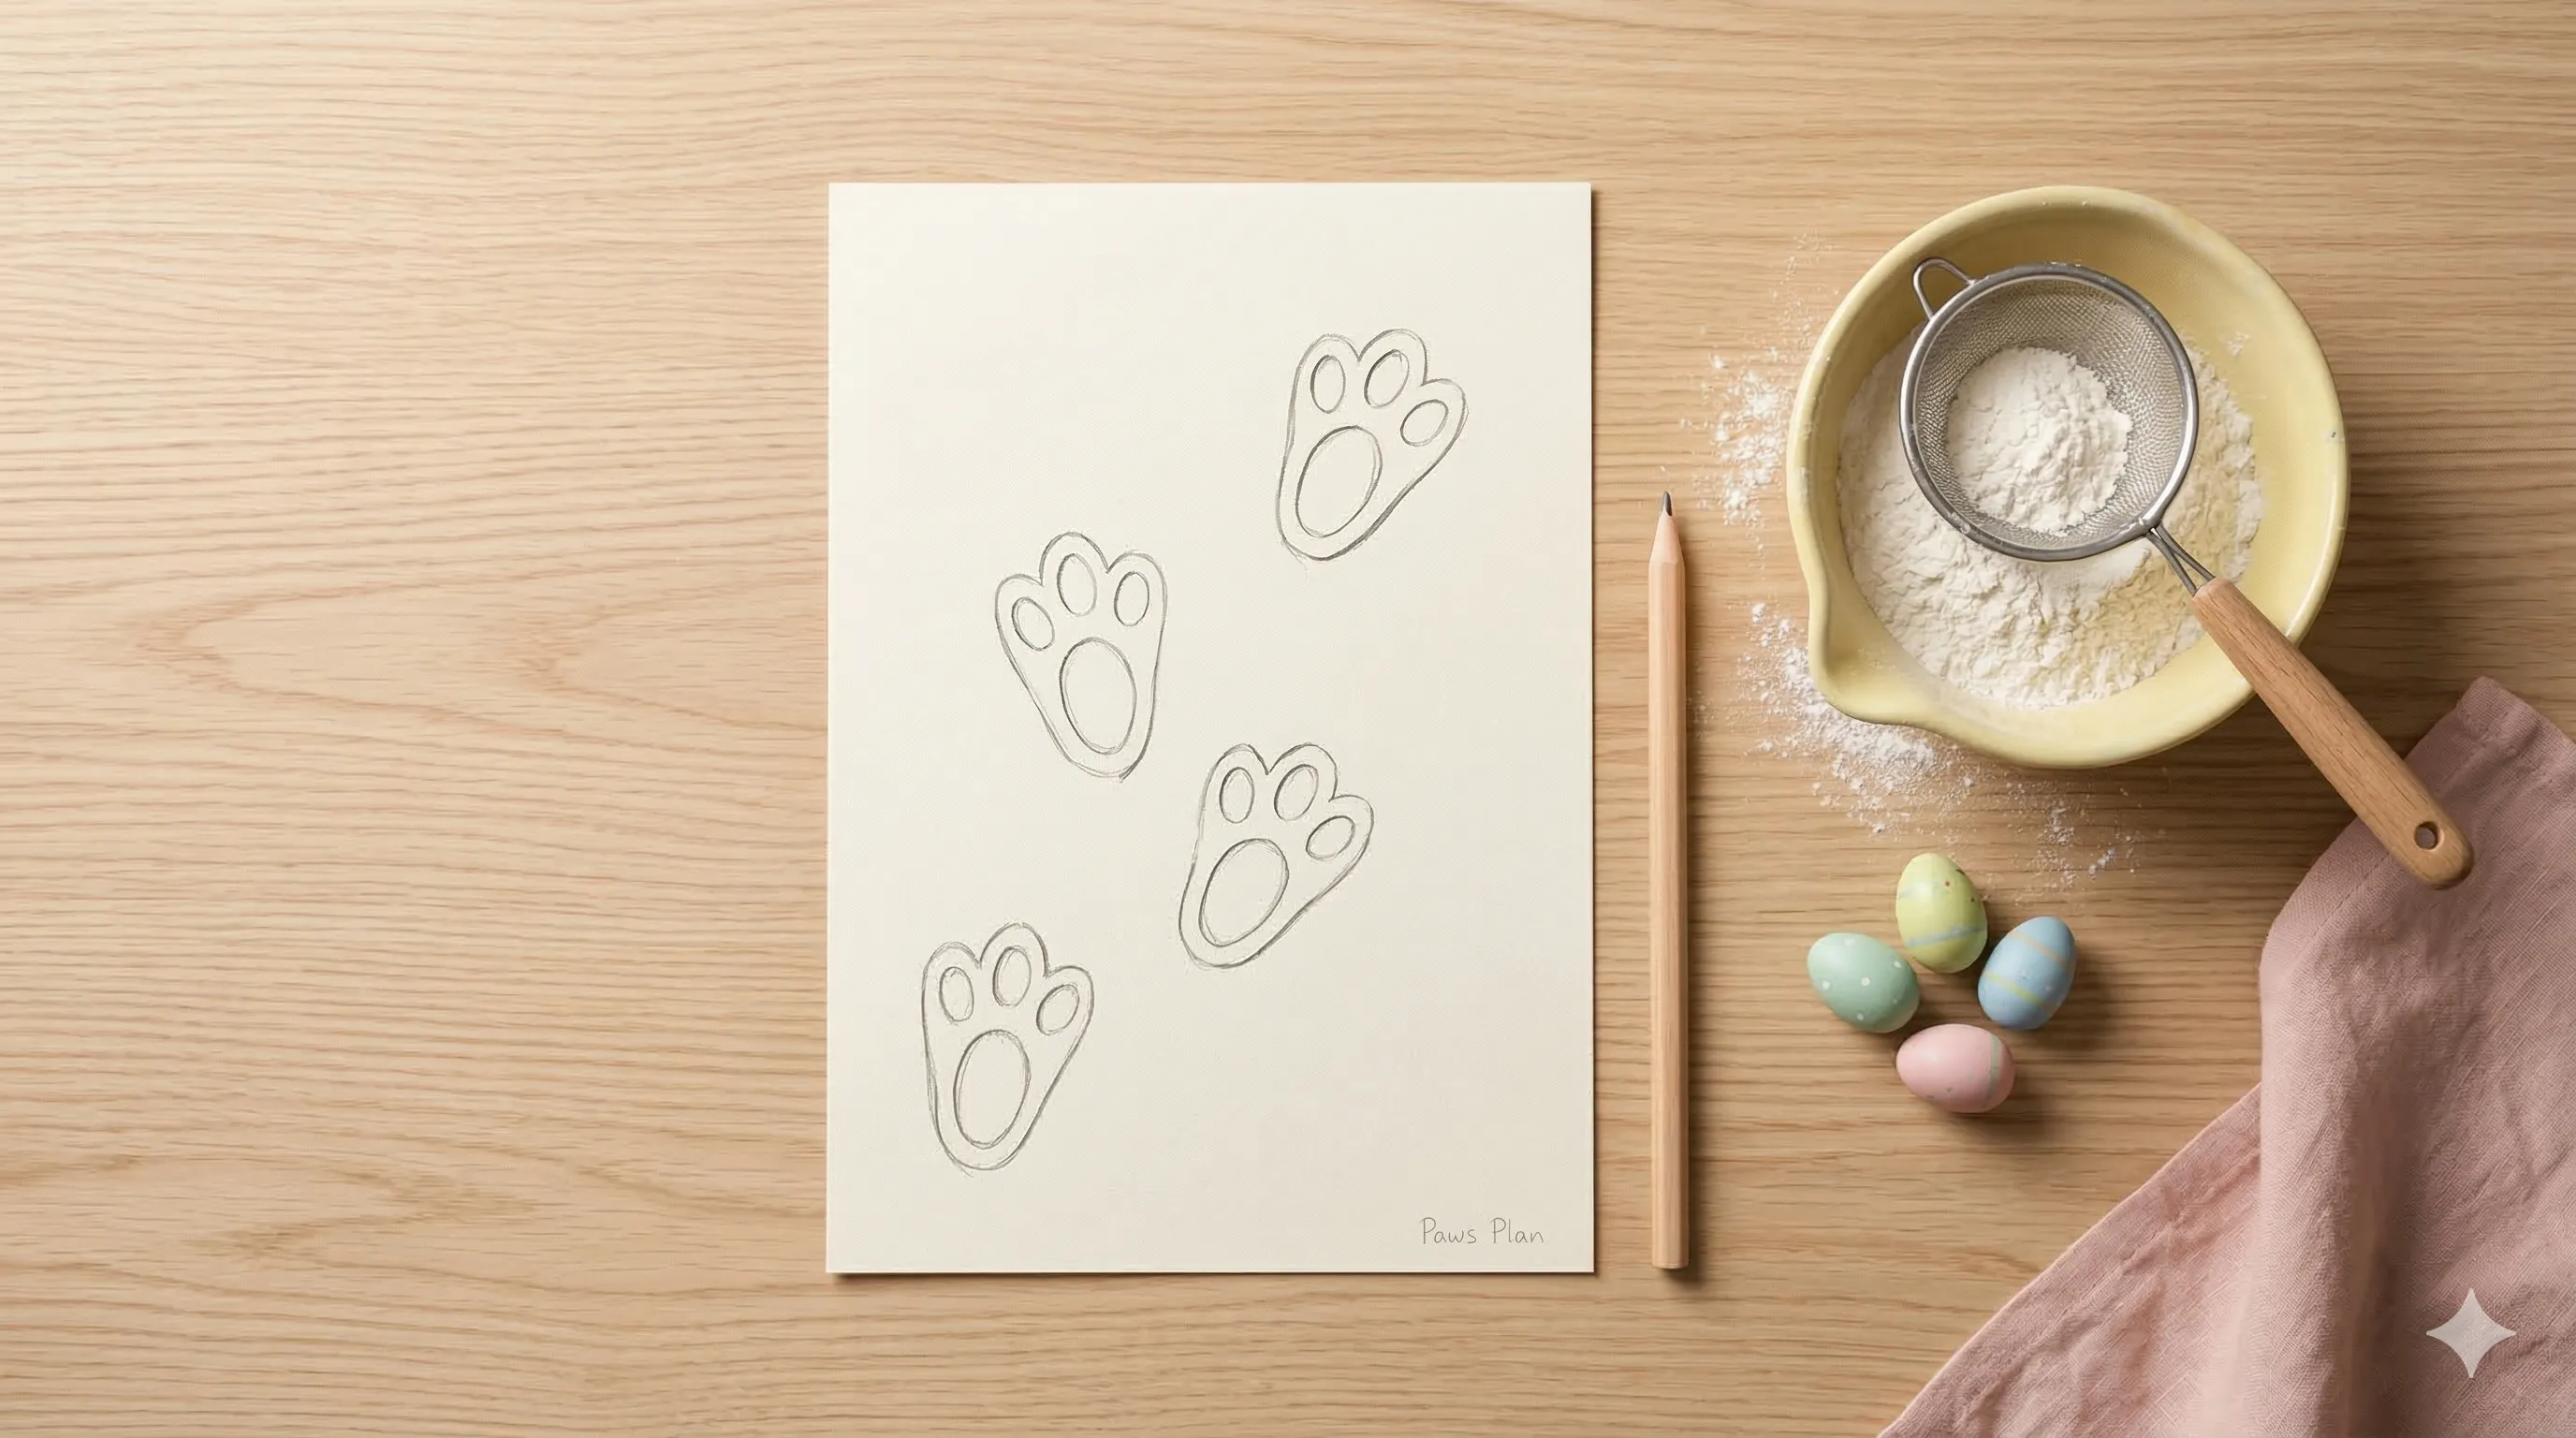
- Draw a bunny paw shape on cardstock: one oval roughly the size of a large egg for the main pad, and four small circles clustered above it for the toes. Cut out the toes as holes (negative space) — leave the main oval pad solid.
- Cut two stencils: one slightly smaller (front paws) and one slightly larger (back paws). Or use one stencil and simply press a little lighter for the front prints.
- Place the stencil flat on the floor. Hold it steady with one hand.
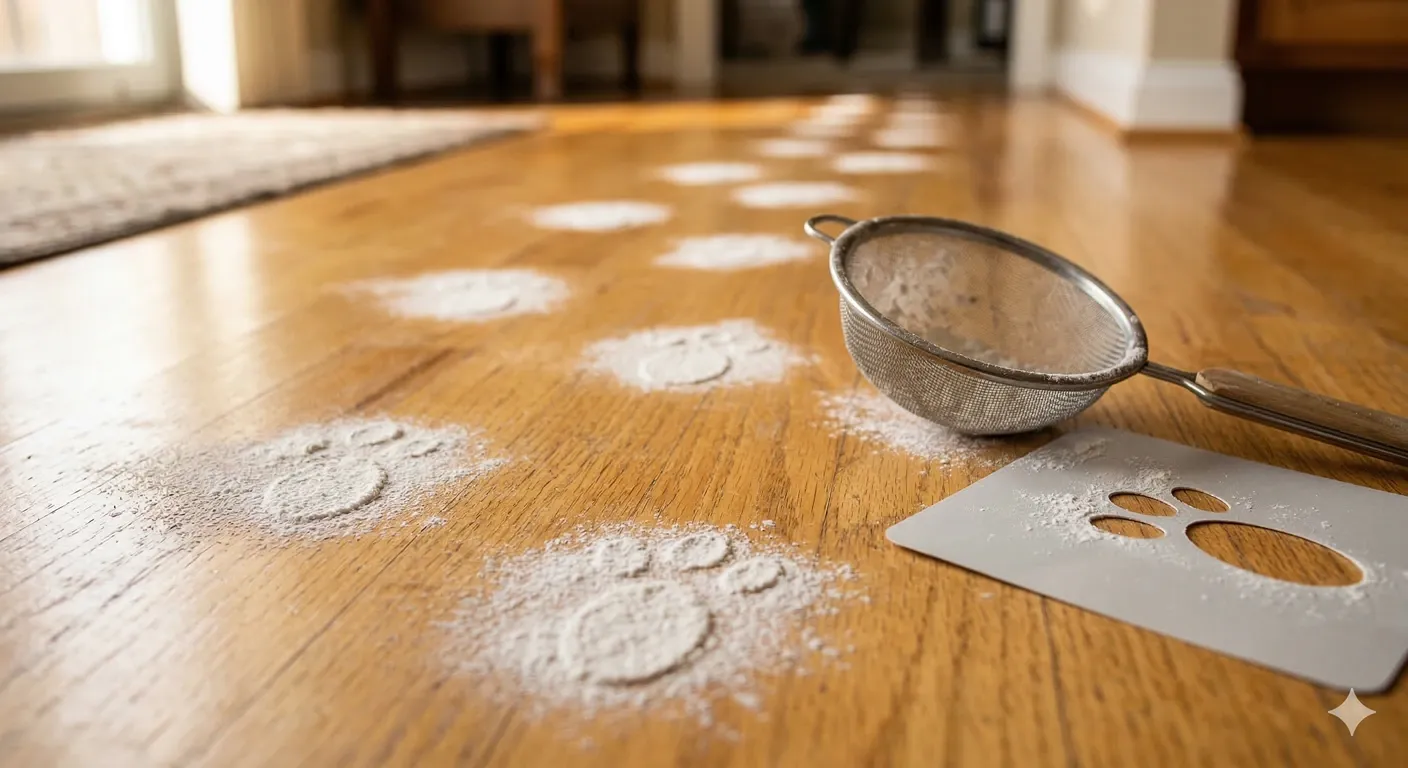
- Use your strainer to sift a small amount of flour over the stencil. You want a light, even dusting — not a pile.
- Lift the stencil straight up in one smooth motion. Don't drag it — that smears the print.
- Repeat every 8–12 inches in a hopping pattern: two small front paw prints close together, then two larger back paw prints slightly staggered and set wider apart.
- Lead the trail from the back door (or fireplace) toward the basket, including a few detours — into the kitchen, around the couch — for extra drama.
Method 2 — Baking Soda or Baby Powder (Carpet-Friendly)
If your home has carpet, this is your method. Baking soda and baby powder are both fine enough to create crisp print shapes without compressing carpet fibers in a way that looks unnatural. The technique is nearly identical to Method 1:
- Use the same cardstock stencil as above.
- Use a very light touch with the strainer — less product than you think you need. Baby powder in particular goes a long way.
- Sift gently over the stencil, then lift straight up.
- The prints will be subtle on carpet, which actually looks more realistic — as if the Bunny was tiptoeing through your living room.
- Vacuum up in the morning after the excitement (both baking soda and baby powder vacuum out easily with no staining).

Method 3 — Chalk Footprints (Outdoor / Driveway)
This method is perfect for extending the magic outdoors — creating a trail that leads from the garden gate or front porch to the back door. It works beautifully on concrete driveways and sidewalks.
- Dampen your chalk stick slightly with a wet sponge for a bolder, more opaque print.
- Press the damp chalk firmly inside your stencil outline, or trace the stencil shape and rub inward with a dry chalk stick for a softer edge.
- Alternatively, skip the stencil and press your own fist lightly (for the main pad) surrounded by four fingertip dots (for the toes) — this gives a charmingly imperfect, hand-crafted look.
- Pair the chalk trail with a half-eaten carrot left near the garden gate — the combination of chalk prints plus bite marks is especially compelling evidence.
How to Set Up Your Footprint Trail for Maximum Effect
The footprints themselves are only half the magic. The path they take is what turns a few paw prints into a complete story.
Choose Your Starting Point
The best starting points are locations with a plausible "entry" — places children already associate with magical visitors:
- Back door — simple and universally understood ("the Bunny came in from the garden")
- Fireplace — borrows Christmas magic logic and works surprisingly well
- Front porch — great if you're combining indoor and outdoor chalk trails
Plan Your Route
Don't go straight from the door to the basket. Zigzag. Add a detour or two. A trail that goes: back door → kitchen → living room → behind the couch → basket is far more exciting than a straight line. Children love following the evidence, and a trail with a few false turns makes the hunt feel real.
Nail the Hopping Pattern
Real rabbit tracks have a distinctive pattern that's different from how most people assume they'd look. When a rabbit hops, the back feet actually land in front of the front feet. The pattern looks like this:
- Two small prints close together (front paws landing)
- Two larger prints set wider apart, slightly ahead of the small ones (back paws landing in front)
- A small gap (the "air time" between hops)
- Repeat
This detail is surprisingly convincing to older children who might scrutinize the prints closely.
Add Supporting Evidence
The footprints are the main event, but a few supporting details elevate the whole setup:
- A half-eaten carrot near the basket or the starting point — extra convincing with bite marks pressed into the end
- Jelly bean "droppings" scattered along the trail (use dark-colored jelly beans for authenticity, or just scatter a few near the basket)
- A small tuft of white cotton near the basket — "fur" caught on the edge of the basket while the Bunny was loading it
- A small basket of carrots left outside the night before, found "nibbled" in the morning
Pairing Footprints with an Easter Bunny Letter
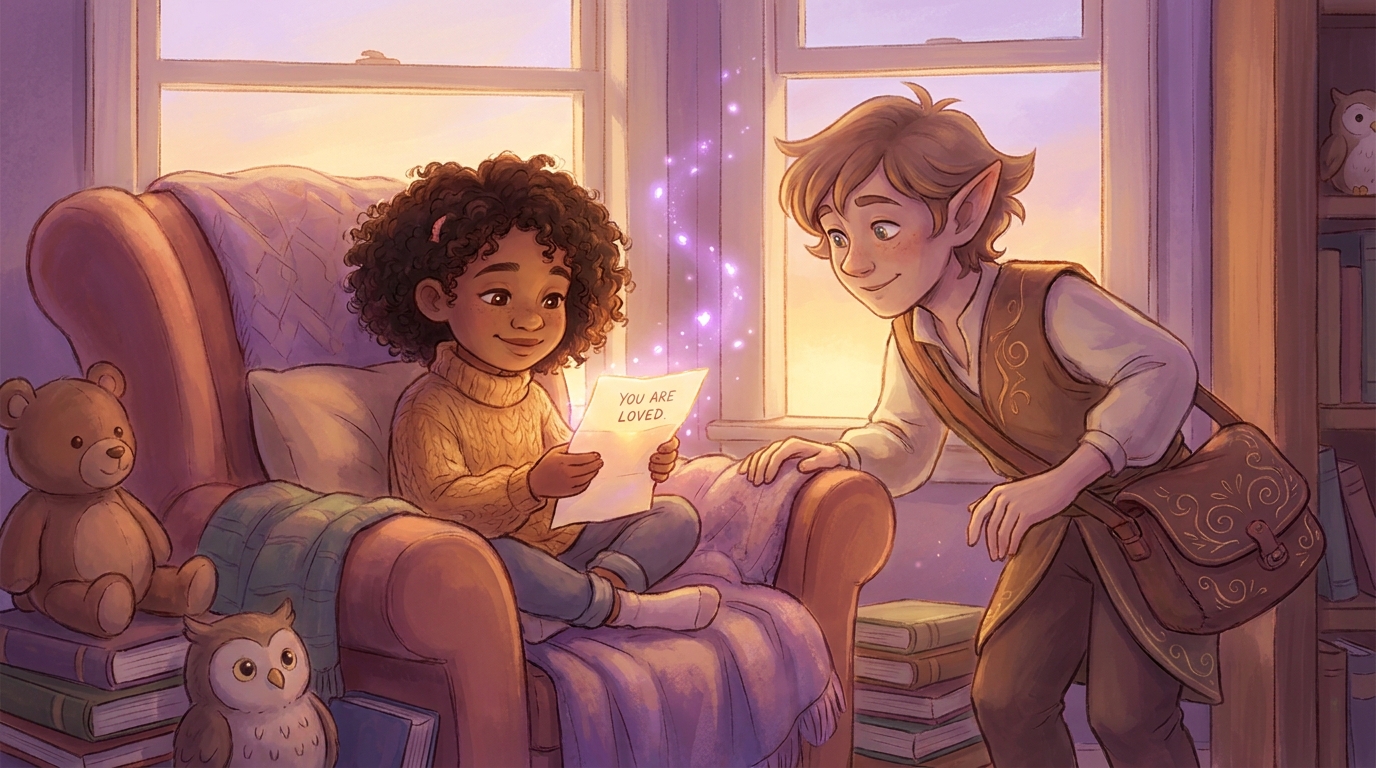
Here's the thing about footprints: they prove the Easter Bunny came. But they don't prove the Easter Bunny knows your child. That's where the letter comes in.
The most powerful version of Easter morning combines both. Your child follows the paw prints through the house, building excitement with every step — and at the very end of the trail, tucked inside the basket or propped against it, they find a letter addressed specifically to them. A letter that mentions their name, the things they love, the ways they've grown this year, and maybe a gentle nudge toward the Easter egg hunt waiting outside.
That combination — physical evidence plus personal recognition — is what creates the kind of Easter morning that still gets mentioned at the dinner table ten years later.
At The Magic Letter Box, personalized Easter Bunny letters are created in under a minute. You enter your child's name, age, a few things they love, and any special moments from this past year — and the letter writes itself, in the Easter Bunny's own enchanted voice. For families who want to extend the magic even further, you can also explore Easter egg hunt letter options that guide children from clue to clue before reaching the final basket.
Frequently Asked Questions
What do Easter Bunny footprints look like?
A rabbit's paw print consists of one larger oval pad (the main foot pad) with four smaller circular toe pads clustered above it. The back feet are noticeably larger than the front feet. In a hopping pattern, the two back paw prints actually land slightly ahead of the two front paw prints, so tracks appear in sets of four with a gap between each "hop." You can make a simple stencil by drawing this shape on cardstock — it doesn't need to be perfect to be convincing.
How do I make Easter Bunny footprints without a mess?
The key is using a light hand and a fine mesh strainer. You want a dusting of flour or baking soda — not a pile. Place your stencil, sift a small amount through, and lift straight up without dragging. On hard floors, flour vacuums up easily in the morning. If you're worried about mess, baking soda is an even tidier option and vacuums just as well. For outdoors, chalk washes off with a hose. The footprints look messier than the cleanup actually is.
Can I use Easter Bunny footprints on carpet?
Yes — baking soda and baby powder both work beautifully on carpet. Use a lighter touch than you would on hard floors, and the prints will show up as subtle but clearly visible marks in the carpet pile. Both vacuum out completely without staining. Avoid flour on carpet, as it can clump if stepped on and is harder to remove. Baking soda is the better choice for carpeted rooms.
What can I leave as evidence the Easter Bunny visited?
Paw prints are the most powerful visual evidence, but a few supporting details make the scene even more convincing. A half-eaten carrot near the basket or starting point is classic and easy. Dark jelly beans scattered along the trail work as "droppings" (most children accept this cheerfully). A small tuft of white cotton near the basket reads as "fur." If you have outdoor space, a basket of carrots left outside the night before — found nibbled in the morning — adds another layer. Combine two or three of these with the footprints for maximum impact.
How do I make a bunny paw print stencil?
Draw a large oval (roughly 3 inches long) on a piece of cardstock — this is the main foot pad. Above it, draw four smaller circles clustered together — these are the toe pads. Cut out the toe holes (leaving the cardstock intact around them), but leave the main oval solid. This gives you a stencil you can sift flour through to create a crisp print. Make one slightly smaller for the front paws and one slightly larger for the back paws, or use one stencil and adjust your flour amount for each. These stencils are reusable — store them flat and bring them out again next year.
Make This Easter Morning Unforgettable
The three methods here — flour for hard floors, baking soda for carpet, chalk for outdoors — give you everything you need to set up a convincing Easter Bunny trail, no matter what your home looks like. The supplies are minimal, the prep takes about 20 minutes the night before, and the reaction on Easter morning is genuinely priceless.
Set up the trail after your children are asleep. Start from a logical entry point. Make it zigzag. Add a carrot or two. And at the end of the trail, let the footprints lead to something that makes your child feel truly seen — a letter that knows their name, remembers their year, and arrives signed by the Easter Bunny himself.
Create your free personalized Easter Bunny letter at The Magic Letter Box — five free letters to start, with unlimited letters available for just $15 a year. In under a minute, the letter is ready. All you have to do is print it, roll it up with a ribbon, and tuck it into the basket at the end of the trail.
The footprints prove the Bunny was there. The letter makes the magic personal. Together, they make Easter morning something your child will never forget.
Happy Easter. 🐰🌷
Written by The Magic Letter Box
Creating magical moments for families through personalized letters and thoughtful parenting resources.